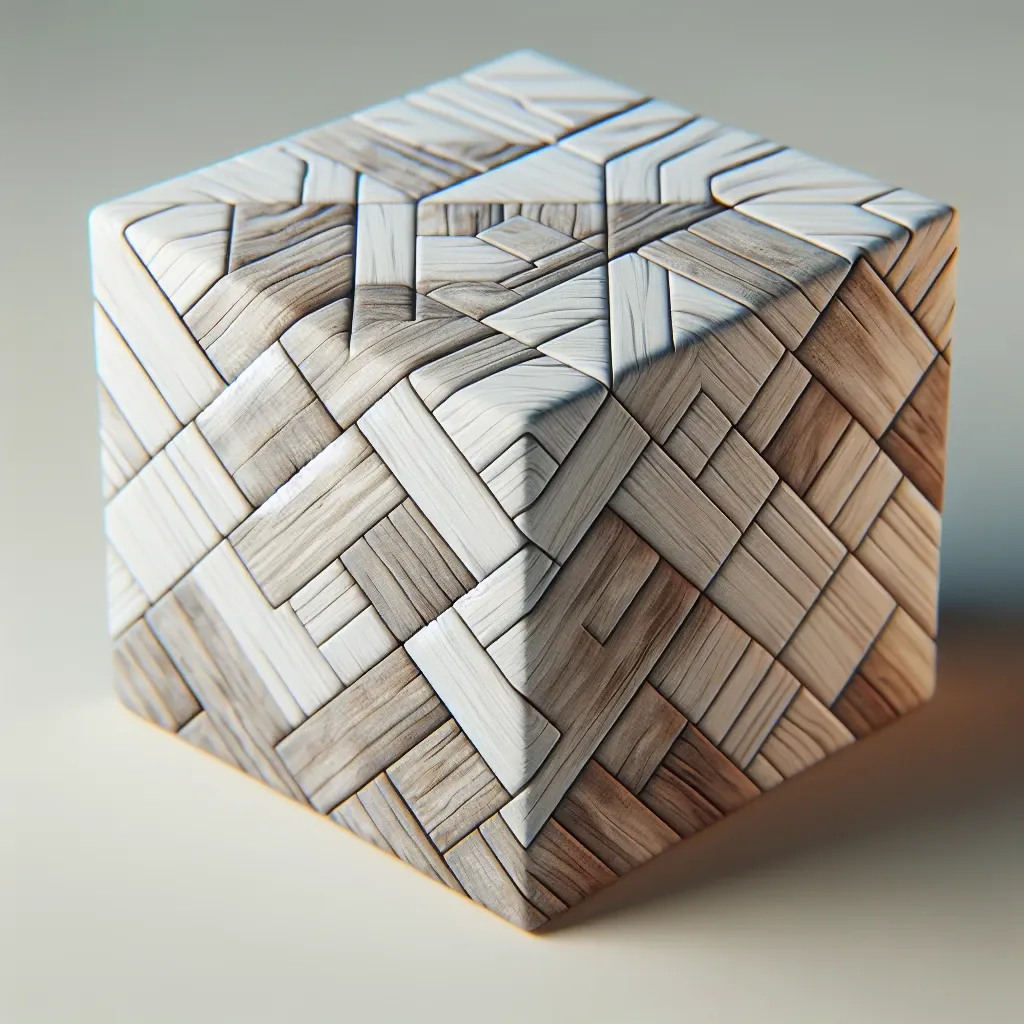
Blender is a powerful 3D modeling software that allows users to create stunning visual effects, animations, and more. One key aspect of creating realistic 3D models in Blender is the application of materials and textures. Materials define how an object appears under different lighting conditions, while textures add detail and complexity to the surfaces of objects.
Applying Materials in Blender:
To apply a material to an object in Blender, follow these steps:
- Select the object you want to apply the material to in the 3D viewport.
- Go to the ‘Material Properties’ tab in the Properties panel.
- Click on the ‘New’ button to create a new material slot.
- Adjust the settings of the material, such as base color, roughness, and metallic, to achieve the desired look.
- To apply a texture to the material, go to the ‘Texture Properties’ tab and click on ‘New’ to create a new texture slot.
- Choose the type of texture you want to use, such as image or procedural, and adjust the settings accordingly.
Applying Textures in Blender:
Textures can be applied to materials to add realism and detail to objects. To apply a texture in Blender, follow these steps:
- Make sure you have a material applied to the object.
- Go to the ‘Texture Properties’ tab in the Properties panel.
- Click on ‘New’ to create a new texture slot for the material.
- Choose the type of texture you want to use, such as an image texture or procedural texture.
- Adjust the settings of the texture, such as mapping coordinates, scale, and influence, to control how the texture is applied to the object.
By following these steps, you can effectively apply materials and textures in Blender to enhance the realism of your 3D models. Experiment with different settings and textures to achieve the desired look for your projects.

