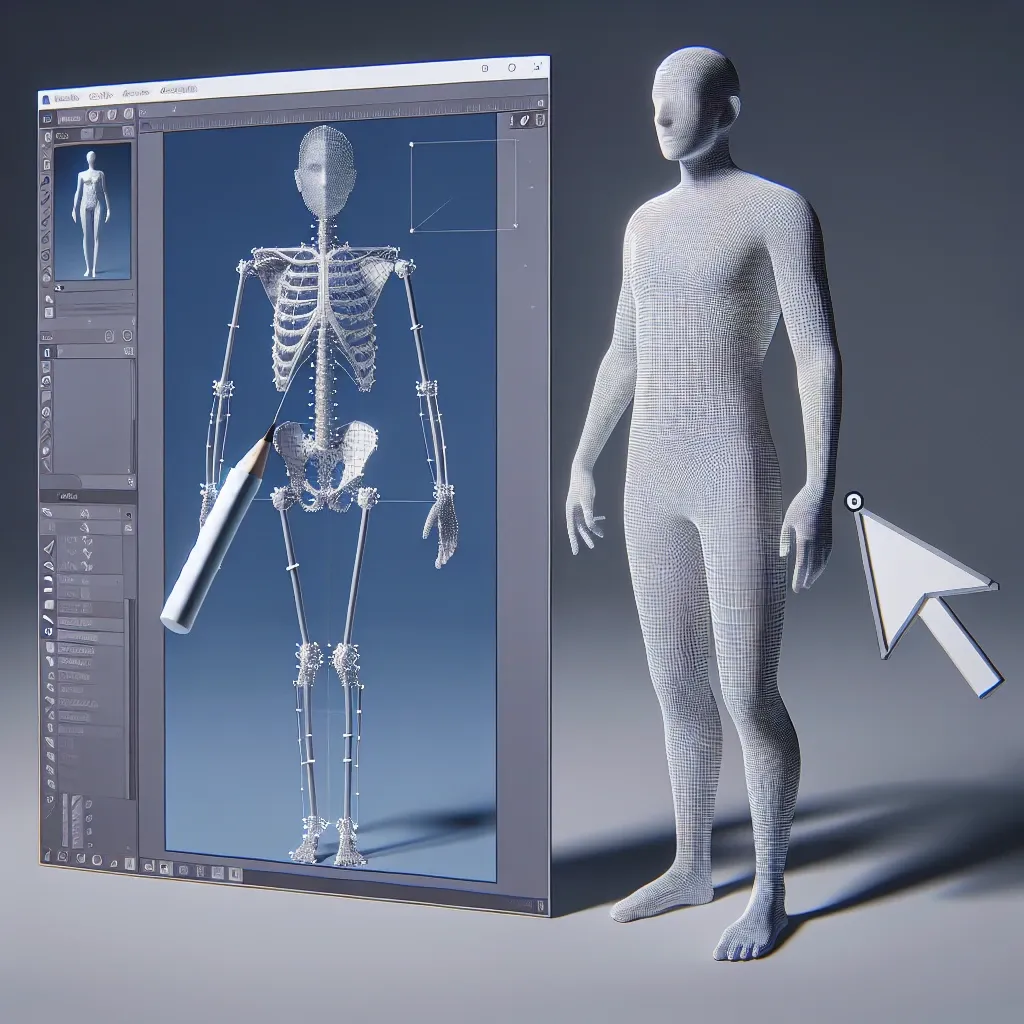
Blender is a powerful 3D modeling software that allows users to create intricate figures and animations. One way to increase the flexibility and movement of figures in Blender is by adding an armature. An armature is essentially a skeleton that can be rigged to a 3D model, enabling you to manipulate its movements.
Here’s a step-by-step guide on how to add an armature to a figure in Blender:
- Select Your Figure: Open your 3D model in Blender that you wish to add an armature to.
- Add an Armature: Go to the ‘Add’ menu, select ‘Armature,’ and choose the type of armature you’d like to use (e.g., single bone, human meta-rig).
- Position the Armature: Place the armature at the center of your figure, ensuring it aligns with the model’s proportions.
- Parent the Armature: Select both the figure and armature, then press ‘Ctrl+P’ to parent the armature to the figure. Choose ‘With Automatic Weights’ to automatically assign weights to the armature.
- Adjust Weights (if needed): You may need to tweak the automatic weight assignments by going into ‘Weight Paint’ mode and manually adjusting the weights for different parts of the figure.
- Test Rigging: Move the armature bones to ensure that they deform the figure correctly. Make any necessary adjustments to improve movement.
- Refine and Animate: Once the armature is properly rigged, you can refine the weights and start animating your figure by posing the armature.
Adding an armature to a figure in Blender can significantly enhance its realism and range of motion. By following these steps and experimenting with different rigging techniques, you can bring your 3D models to life with dynamic poses and animations.

